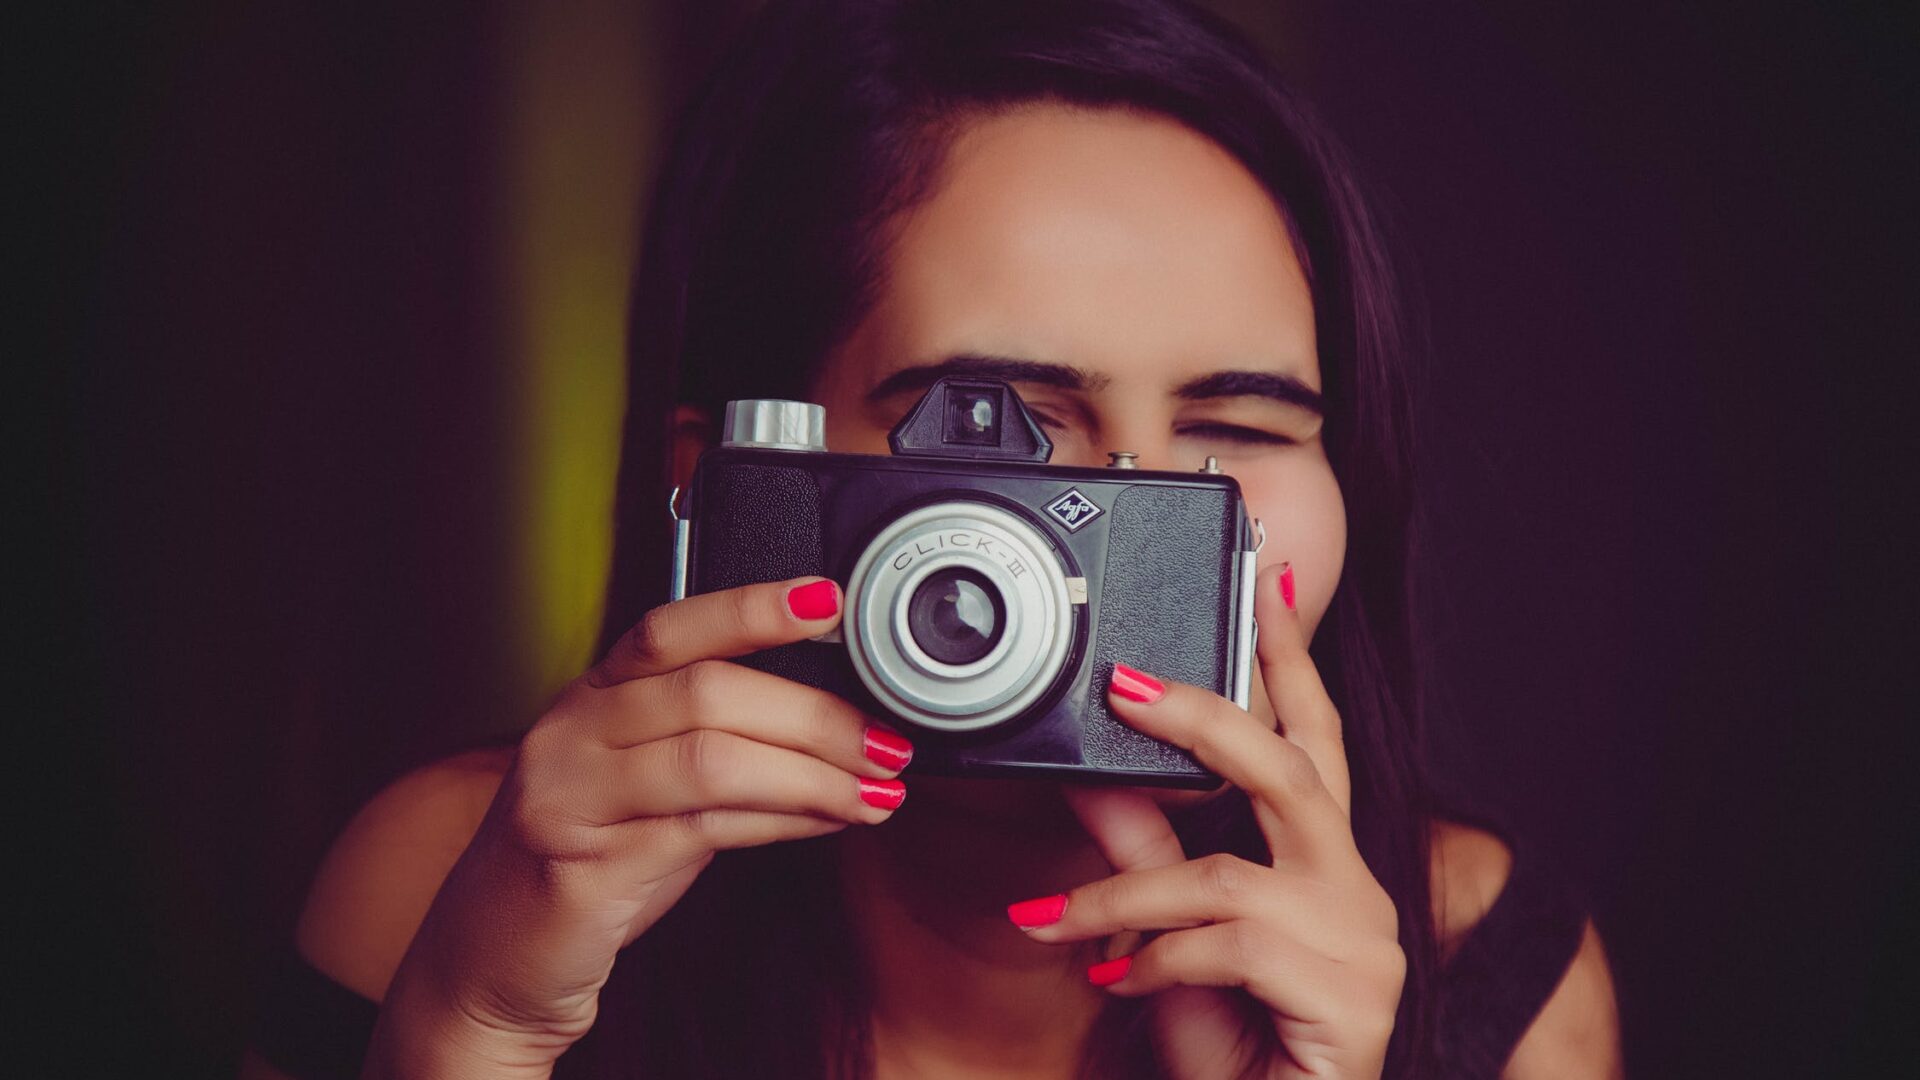
The variety of photography equipment and photo processing software is amazing. Even an amateur photographer can afford a camera with autofocus and macro photography. Any frame can be edited beyond recognition using Photoshop and other services. But why, having so many hardware and software tools, not everyone can take a high-quality photograph?
Any more or less knowledgeable photographer will tell you that even the most advanced equipment is not a guarantee of a good shoot. Only your skill affects the quality of the shot.
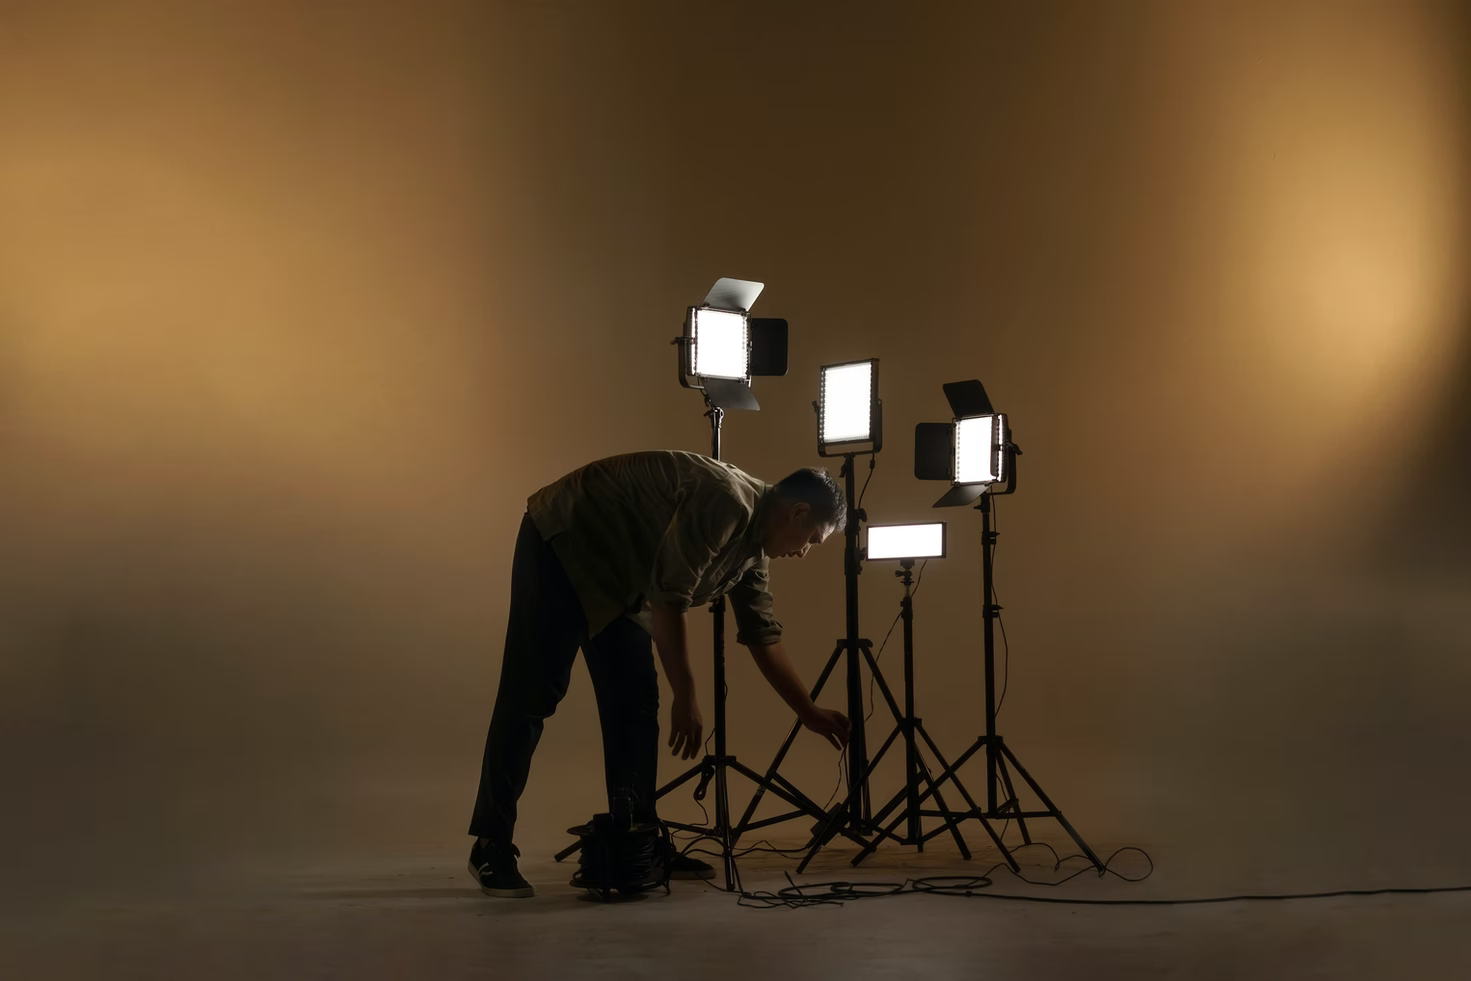
One of the most vital skills for a photographer is whether or not they can work with lightning. Let’s take a look at how to achieve the perfect lighting for your photo.
Work With The Front-Light
Lighting photography is a complex and multi-layered process. The location of the light source plays a big role in the composition. It influences the type of photography that we would have as a result. Let’s start by looking at the simplest and most obvious ways to place the source of light behind your camera. In such a location, the light will fall directly on the photographed subject. This kind of lighting is called front-light.
Front lighting removes unwanted shadows from the frame and flattens the image. This kind of illumination is achieved by keeping the light source flush with the lens and aiming directly at the subject. The contrast of such a photo will be minimal since the entire photo is lit in approximately the same way.
Front lighting sources can be:
- Flash
- Strobe
- Natural light sources (sun, fire, etc.)
- Spotlight
Such lighting can be intensified or diffused, which is achieved using special reflectors/diffusers. The more intense the light, the less voluminous the photo we will receive.
Photographers use front lightning the most for portrait and commercial photography when it is necessary to hide unwanted defects such as wrinkles, scars, unevenness, and so on.
Use Shadows
By angling our light source, we get a side-light. This lighting helps create shadows in our composition. What are they for?
Shadows help add depth and dimension to a photo. The viewer will perceive such a photograph not as a static flat object, but as a living 3-d composition. Side shadows add drama to photographs, which is often not possible with staged frontal lighting — that’s why this method is more often used for emotionally colored photographs.
The contrast of such a photograph will be higher than with frontal lighting due to the significant difference between the lightest and darkest parts of the composition. In the film, side lightning is brought up to reveal smaller accent, quiet emotions, focus on dramatic mood — lightning artist set it up in a pair with diffused fill light (where a side-light is, for instance, from a lamp, and a fill is a general, four-sources illumination of the scene.)
Apart from that, contrast helps bring out a texture, a quality of materials; it sharpens the angles of what’s seen. This method is also used for photographs of landscapes, architecture, and other volumetric objects — shadows empathize the depth.
Use Backlight For Better Visualization
Light up your subject from behind and you end up with a dramatic silhouette. Such a method would help to better convey the shape of the object but will reduce its detail.
If the lighting behind the subject is placed at a slight angle, the objects will have an illuminated outline, and the brighter the light, the more noticeable this effect will be.
If the light source is very bright, then we end up with a dynamic picture with many shadows. Most of the image will be dark, but with strong highlights, allowing us to create the necessary accents. The contrast of such a photo will be maximum.
Lighting like this will help us add drama and meaning to even the smallest and most insignificant details.
Make Focus on The Color Temperature
An important component of photography is its temperature. Professional photographers measure the temperature of each color and light in Kelvin. Many photographers used to have to practically manually define and modify the shoot’s temperature. Fortunately, there are now many filters to help set the right tone for our photo.
Let’s take a closer look at which light sources will help to achieve a warmer image, and which will help to make our photo colder.
- Candles – 1500 K
- Incandescent lamp 60 W (your usual average lamp) – 2680 K
- Film shooting lamps – 3200 K
- The sun on the horizon – 3400 K
- Midday sun – 4500 K
- Photo flash – 5600 K
- Twilight – 8500 K
- Blue winter skies – 15,000 K
- Sky at polar latitudes – 20,000 K
The higher the Kelvin value, the colder our photo will turn out to be. The lowest values correspond to orange light (candles, light from a fireplace, lamps, sunlight). The highest are white and blue (flashes, sky — with or without cloud, color balance during twilight). Take the time of day and cloudiness into account when taking pictures outdoors and consider using artificial lighting during indoor photoshoots.
How can we use this information? It will help us set up the right white balance on our camera. This way we tell the camera what color we want to see as white. A photographic lens is more sensitive to light than our eyes. We will always see candlelight as yellow-orange, but the camera will see it as we tell it.
After setting up the white balance to, let’s say 5600 K, everything below this value will be highlighted in warmer shades. The candle flame will be warm and orange. But when set to 1000 K, the candle flame will be blue and cold, because the candle’s “color temperature” is higher than 1000 K.
Experimenting with the color temperature and white balance helps artists express the mood they want to convey and set the atmosphere. It will also be useful if your choice of lighting fixtures is limited — then, you’ll be able to set the vibe and feeling for a series of photos and establish a theme via color.
Use Light Falloff
Attenuation of light is one of the main properties of light, as a beam of light travels in a straight line and is scattered with distance, which affects its intensity. Areas of an object located closer to the source of the light would be brighter compared to those located further away. Bright areas will be more contrasting, while distant areas will be blurred. By changing the distance between your subject and the light source, you decrease the light intensity.
Using this principle will allow you to add emphasis and depth as well as play with the photo’s exposure settings. Subjects under bright light will be in the center of the exposure, and distant ones will practically disappear — that will help you to create layers of storytelling on the photograph, empathize what’s relevant and what’s not, show movement and depth.
Combine different light sources at different angles, experiment with color temperature, and create vivid and dynamic photos.